
DIY Ice Dyeing With An Ice Tie Dye Kit

Lemme tell you about something that makes me feel really, really proud.
At the very end of 2019 I was thinking about my goals for WAXON Studio in the upcoming year of 2020. I made a post on Instagram that said our goals were “kits, courses, and collaboration.” Obviously 2020 proved to all of us that we have absolutely no way of knowing what is and is not going to happen to us.
We got it, universe. We are not the directors of the show. But still, somehow, before the pandemic locked us down I managed to do a few in person collaborations at the studio.
I joined my friend Luna Dietrich’s online course about making online courses (finally producing mine in November)… but best of all, I created our Ice Dye Kits, which launched on Etsy in February 2020. It was a huge goal of mine, and it was met!
Weeks later, COVID happened. Everyone was staying home. Desperate for things to do. Everyone wanted to learn DIY ice dyeing and tie dyeing at home. The timing was, quite honestly, stupefying.
At that time, it was just us and Anna Joyce making and selling ice tie dye kits with fiber reactive dyes on Etsy. Now, there are more brands coming out literally every week. And hey, the more the merrier!
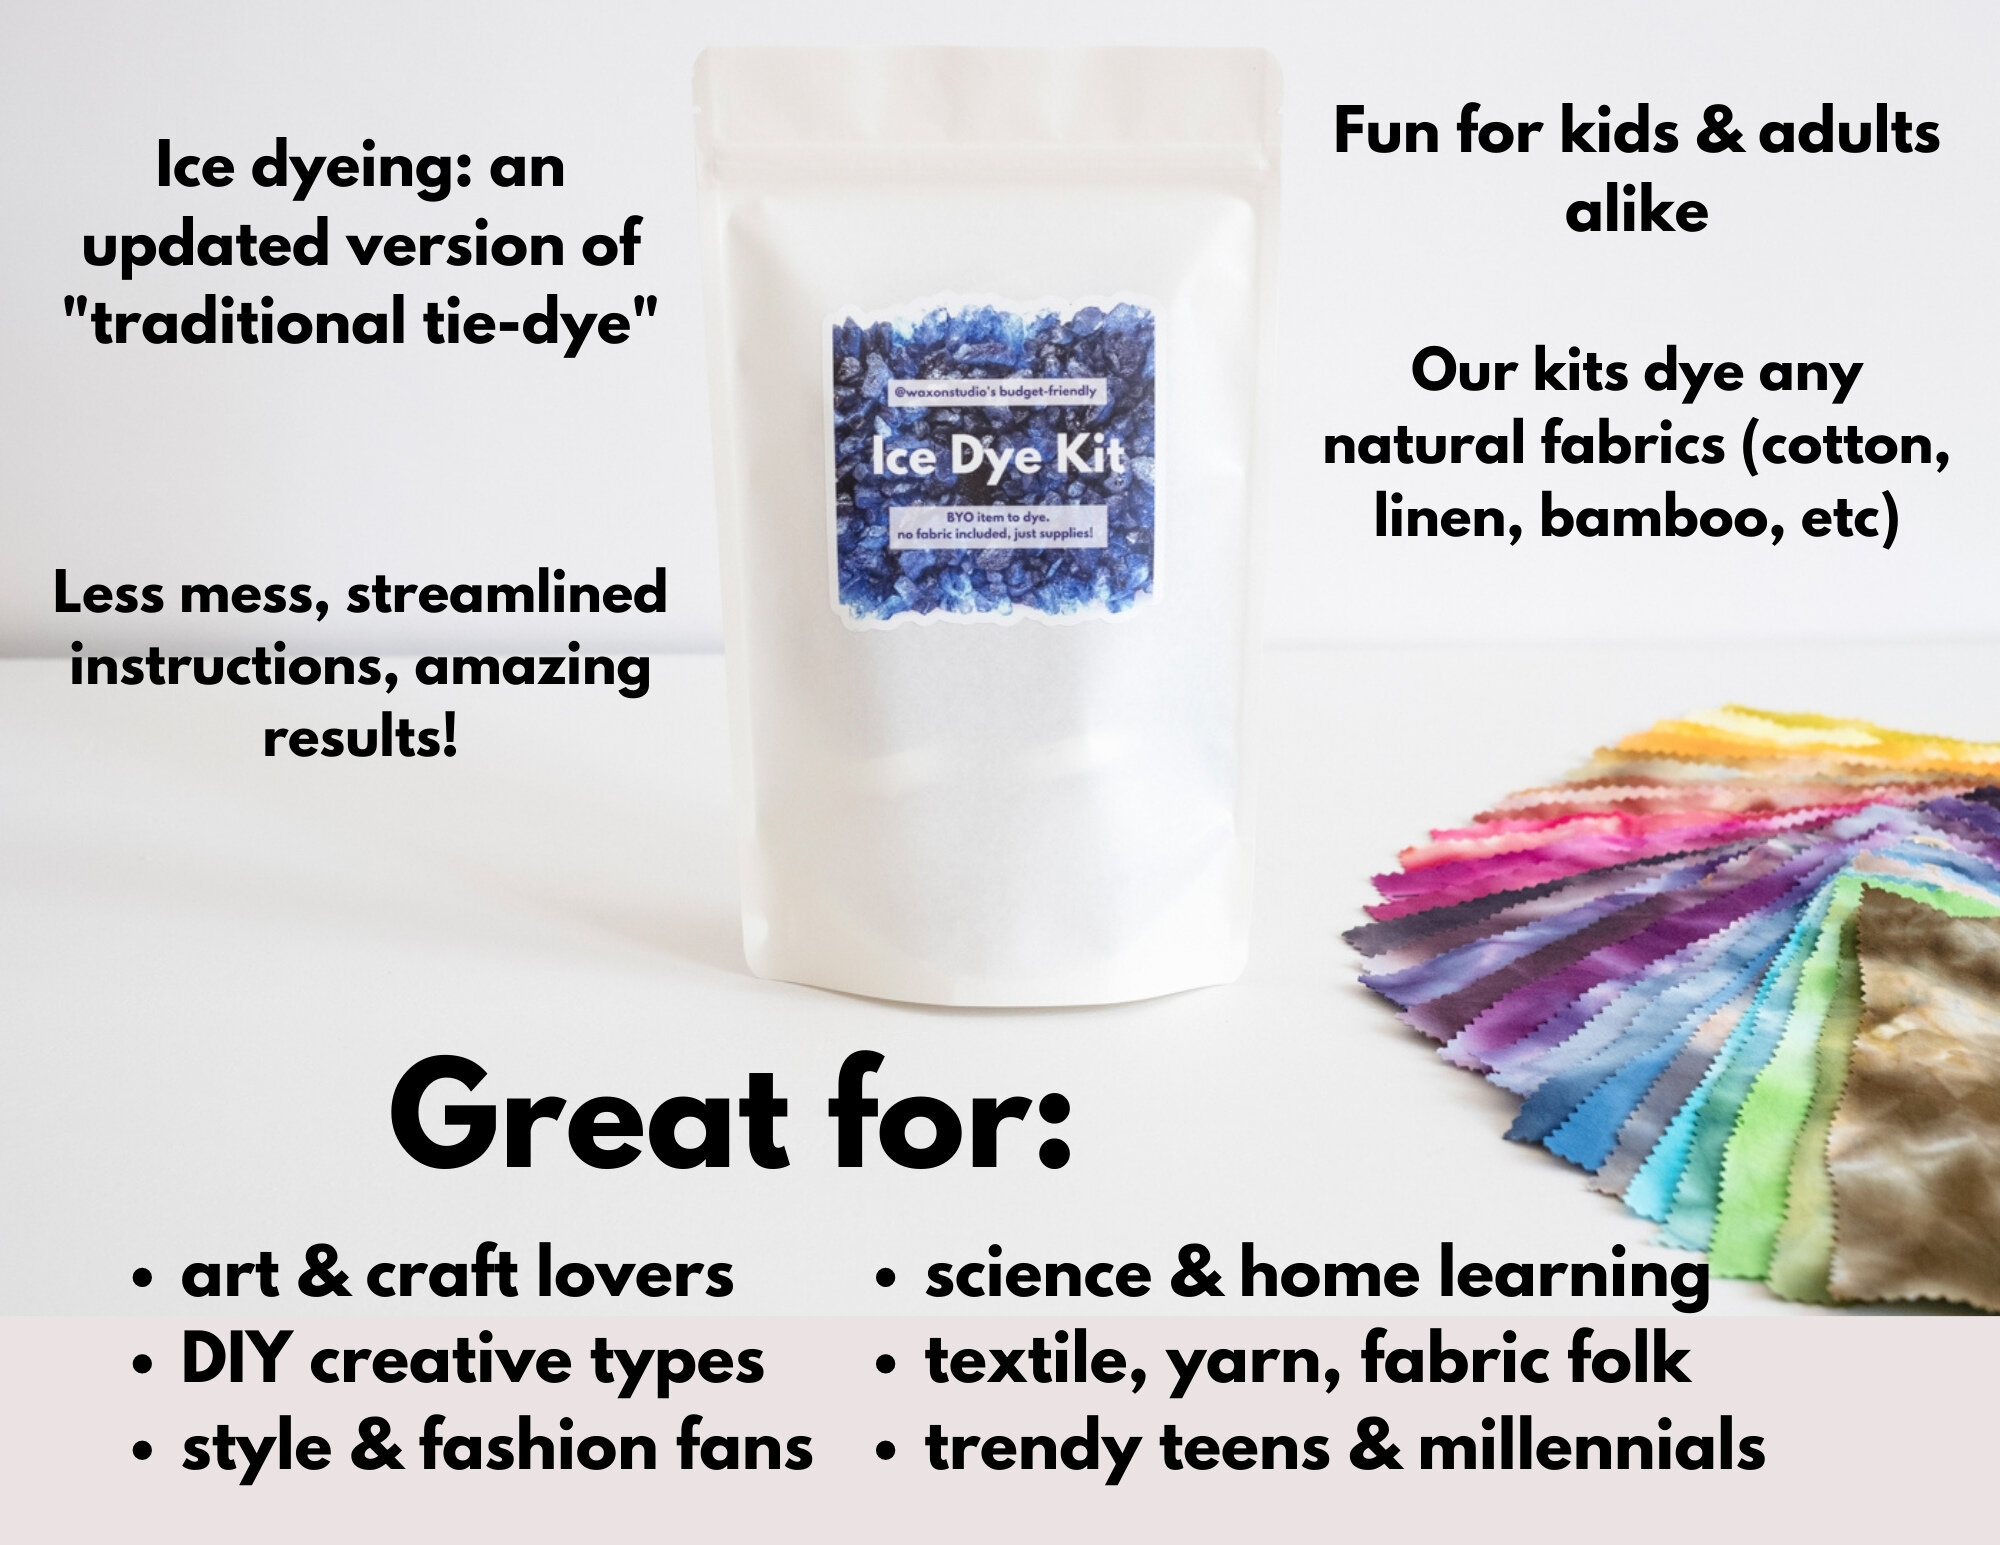
Ice dyeing is so much fun, and everyone should get to try it. Of course, I think our ice dye kits are the best, and in this post I will be explaining why.
What Is Ice Dyeing?
When we talk about ice dyeing, the most important thing to know is that we’re talking about using fiber reactive (or procion) dye powders. These powders are sprinkled over or under ice, to create amazingly beautiful tie-dye effects on cloth.
Ice dye is characterized by color splitting, which is what happens as the cubes slowly melt and pull the colors through the fabric. Is ice dye the same as tie dye?
When dye artists say “tie dye” they usually mean bottle dyeing, or liquid dyeing, same thing. You take dye powder and mix it thoroughly with water in a squeeze bottle. Then, you apply that liquid dye directly onto your item, for example a shirt.
Ice dyeing is not liquid dyeing. I even have a whole blog post about the differences between ice dye vs liquid tie dye.
In ice tie dyeing, you don’t have to mix the powders with any water at all. You simply sprinkle the powder on top of (or under) ice cubes with a dyeable item at the bottom. Of course, there are important details to get right, especially in regards to the chemistry of the dyes and the soda ash (which is the fixative).
Our ice dye kits take a lot of that guesswork out of the equation for you, since they’re totally ready to use. Our kits are “perfectly prepared ice dye kits, designed by expert dyers with 20 years experience!” It’s true.
I started teaching with fiber reactive dyes the summer I turned twenty, which was the year 2001. You can do the math, but suffice it to say, I’ve been using these dyes and teaching with them for half my life now! My goal is that WAXON’s Ice Dye Kits are the easiest to use, the best bang for your buck, and truly madly deeply fun (and educational).
We have options for every budget. With our kits, you can make hand dyed fabric for quilting or sewing. Or, make an ice dye sweatshirt to look amazing while being super comfy.
A quick note on verbiage here, we say ice dye kit, ice dyeing, etc. Some people say ice tie dye, ice tie dyeing, and both are correct! Technically ice dye is tie dye, but with ice cubes and dye powder instead of liquid dyes.
Got it yet? So, don’t worry too much about what you call it, as long as you know that you’ll be using dye in powder form, not liquid form.
Things You Can Ice Dye With A Kit

The Classic: A White Cotton T-Shirt
Ice dye color combinations on a favorite soft shirt, it’s simple magic that just can’t be beat. The older & more beat-up the fibers are, the better they seem to take the dye!
Grab something from the back of your t-shirt drawer, get something from a thrift store that looks like it’s seen better days, make sure it’s a plant fiber, and use our Budget Ice Dye Kit to upcycle something old & tired into something new and incredible.
Long sleeve, short sleeve, sleeveless… you can wear your own ice dyed clothing year round!
Polyester - not!

The zipper placket on this ice dyed tee was NOT made from a plant fiber! Everything else took the dye.
It’s crucial that you check the labels of whatever you want to dye. Anything synthetic (polyester, nylon, spandex, etc) will not take the color with fiber reactive dyes.
Procion type dyes are not designed for anything other than cellulose fibers, though they will work on some protein fibers (like silk and wool), with varying degrees of colorfastness and accuracy. A little bit in a blend, like 90% cotton 10% spandex, is just fine.
One of the years that I was teaching tie-dye at an overnight summer camp, a counselor from Russia came to the tie dye cabin wanting to dye a white shirt he had brought from home. The tag said 100% cotton, but the thing felt exactly like a bathing suit. It was a weird, mislabeled knock off!
I could see from yards away that this thing was synthetic, but he insisted, so I let him tie dye it a beautiful rainbow of many colors. Sadly, when it went into the wash, every bit of that color washed away. It was bright white again after all his efforts. Take the time to check your labels (and hopefully, they’re right!)
Socks

Bamboo socks take the dye gloriously!
One of my favorite things to do is to make unique, one of a kind ice dyed socks for friends and family. Dharma Trading Company’s bamboo socks are the absolute best that I’ve found, and they come in a wide range of sizes.
Sadly, many socks on the commercial market are more poly than cotton. Check and double check!
Fabric or Yardage for Sewing & Quilting
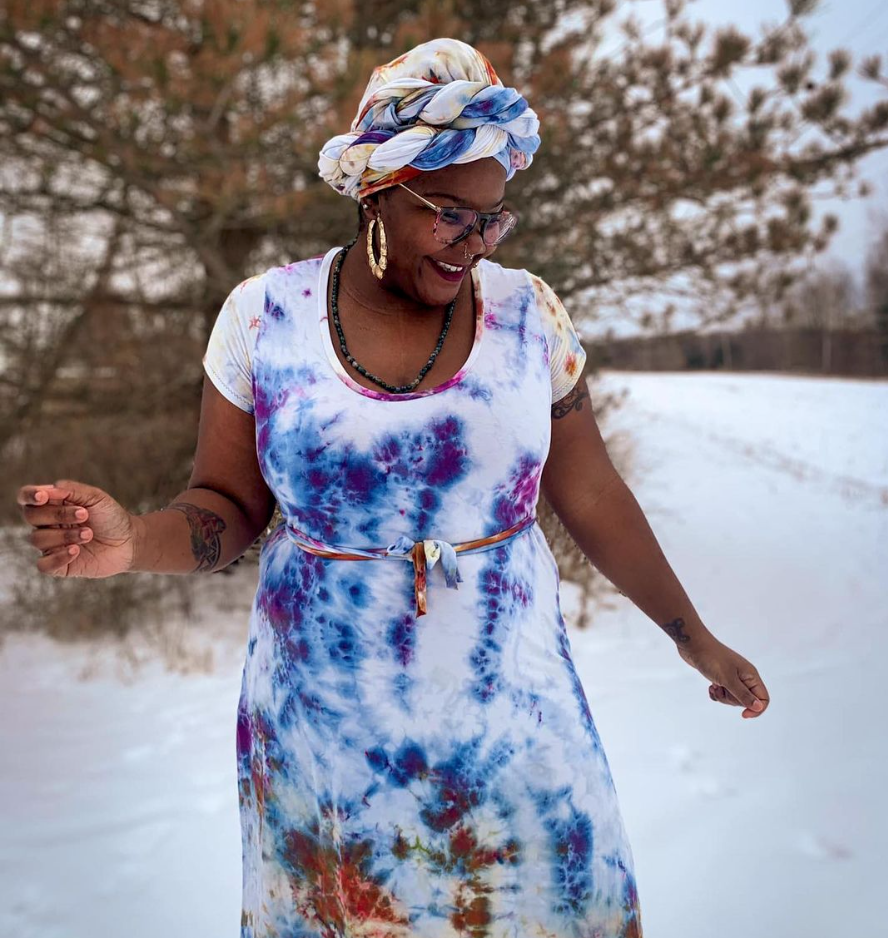
Our gorgeous friend Kamali in some ice dyed bamboo yardage that she sewed for herself.
Sewists, rejoice! You are not limited to the “tie dye” (printed) fabrics being sold on fabric websites. Just buy white and dye your own.
Ice dye color splitting somehow works even better on woven fabrics than on knits. Don’t ask me how or why, but my best understanding is that woven fabrics spread the dye differently than knitted fabrics. There’s some sort of difference that gives you a more watercolor, pixelated effect on woven fabrics.
That being said, knitted fabrics, as long as they are made from plants, look amazing ice dyed (see Kamali’s dress above). If you’re a quilter or a clothing maker, grab some yardage and an Ice Dye Kit and make yourself something totally unique.
Think Shibori ice dyeing, and fold your whole piece of cloth into fan folds or tie it up all over with string. That’s on our kits’ patterns handout. Get creative!
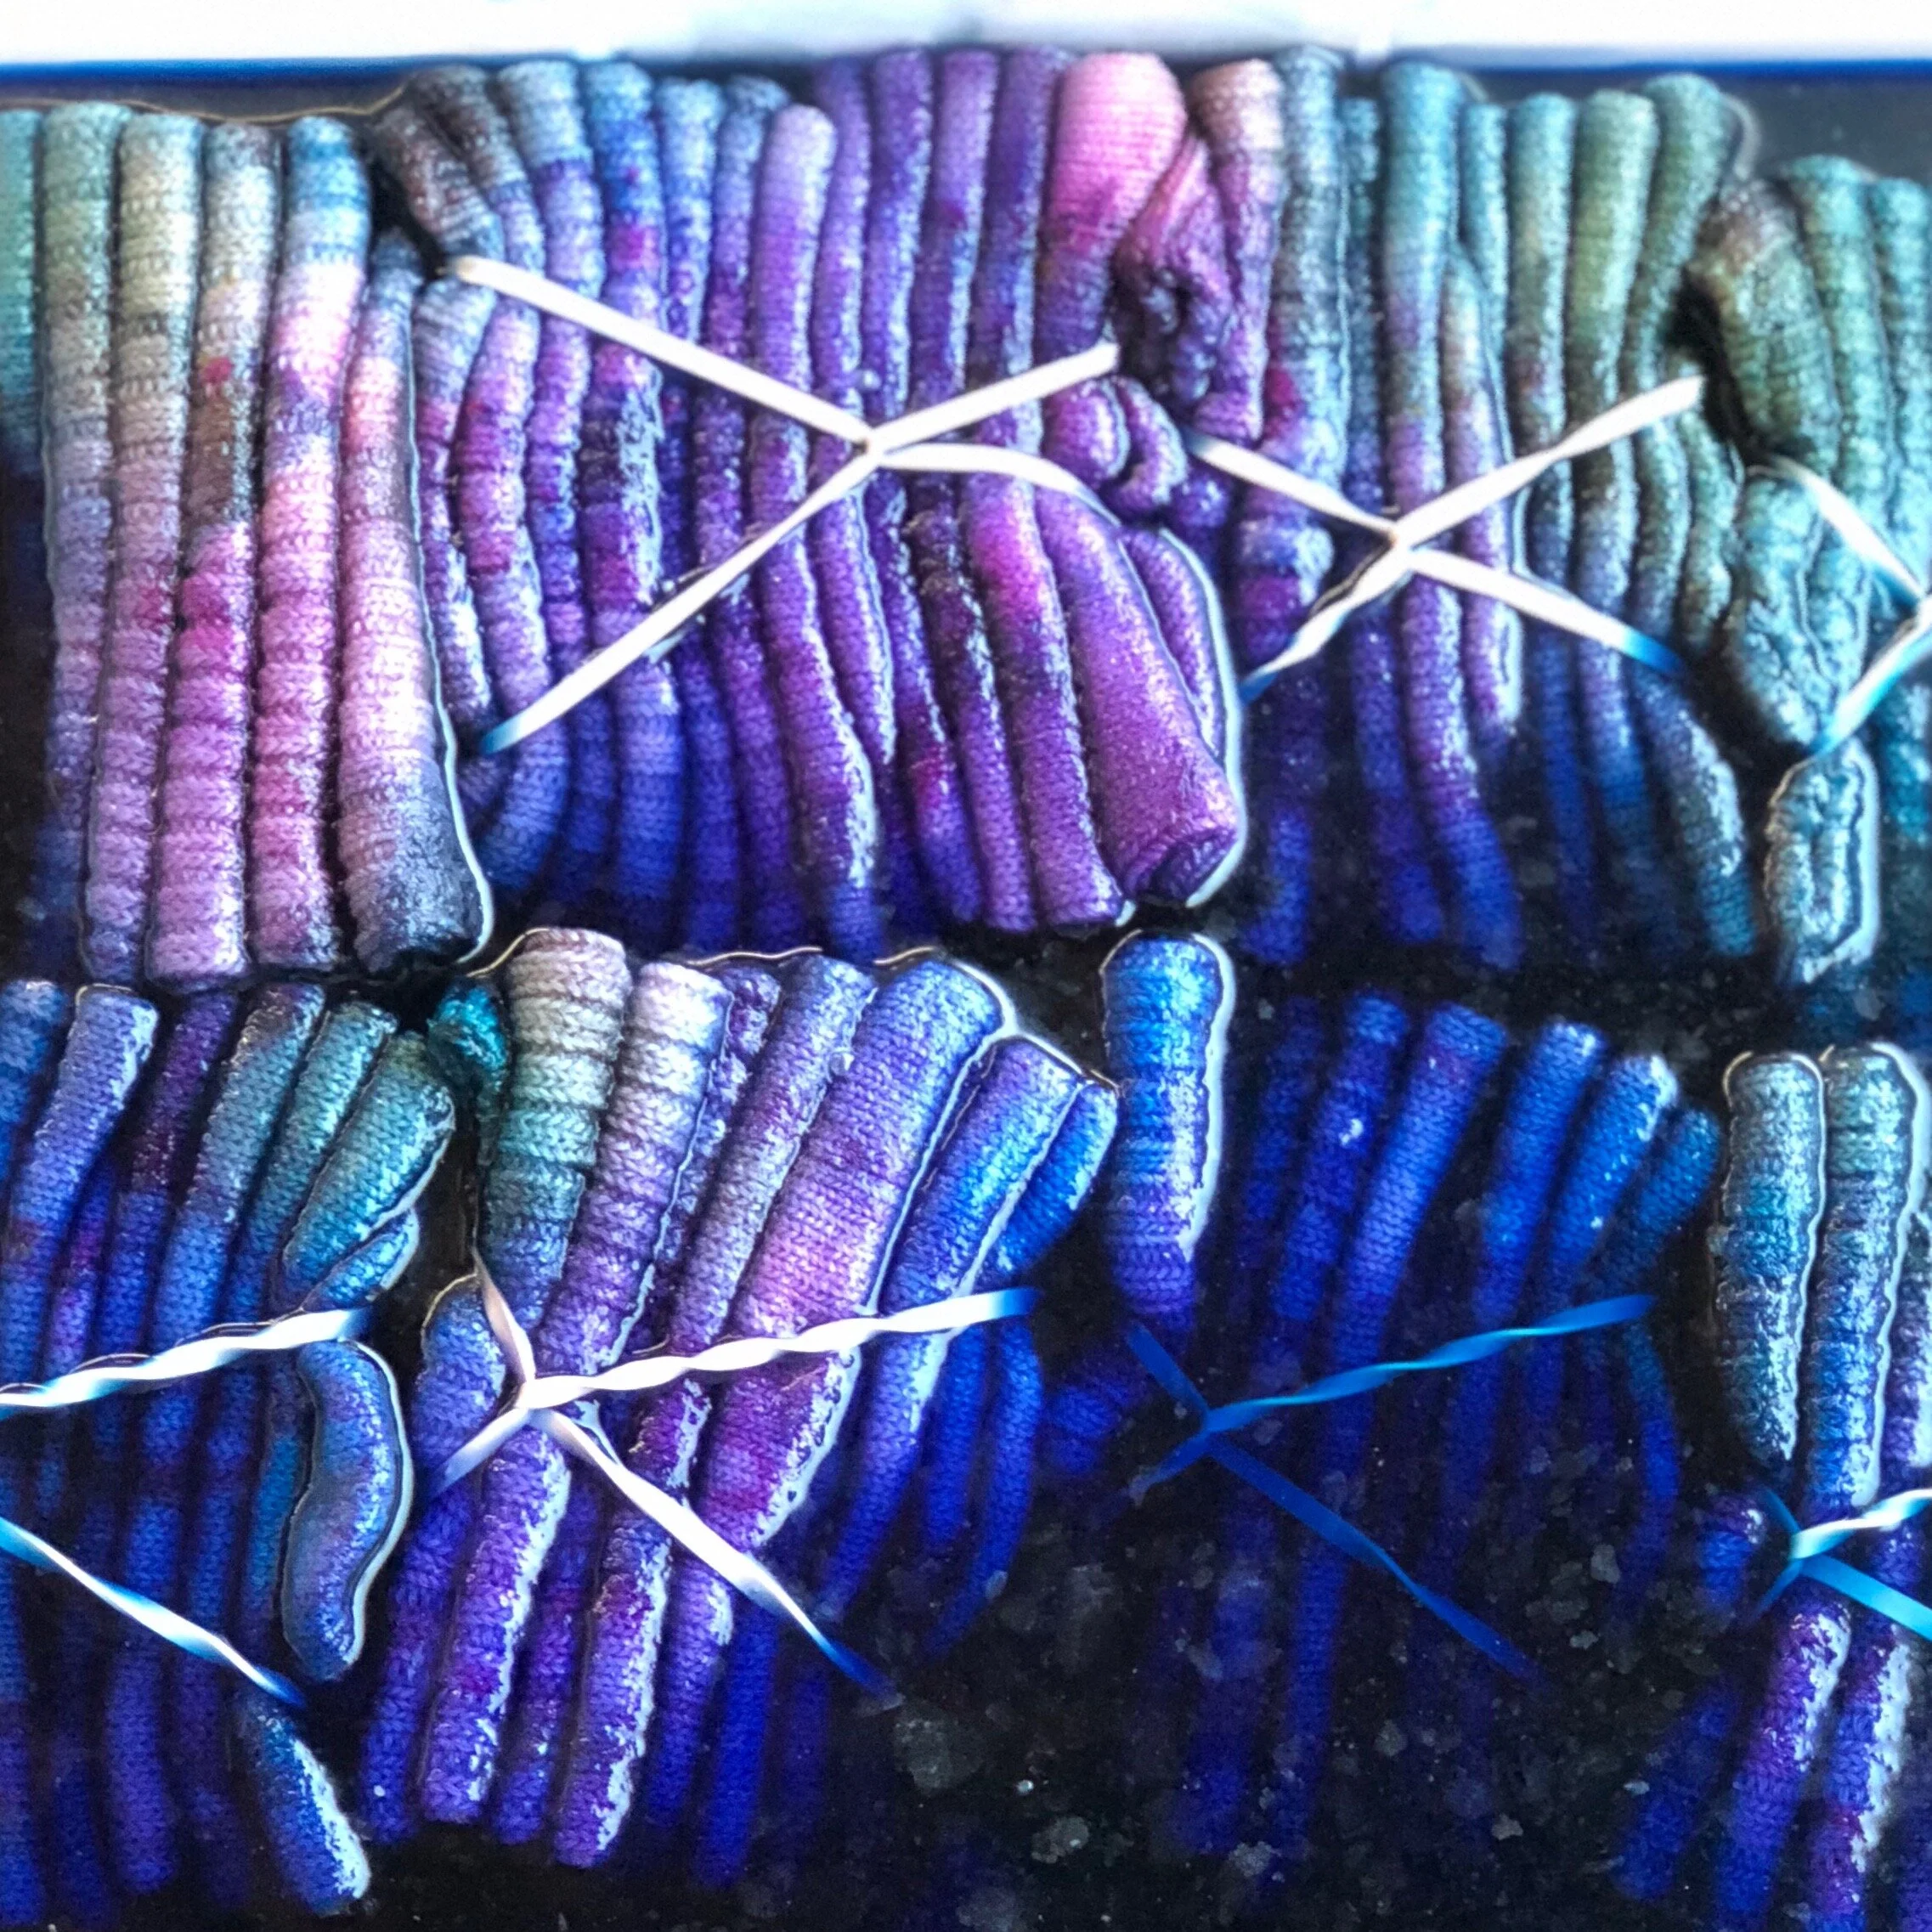
Sweats
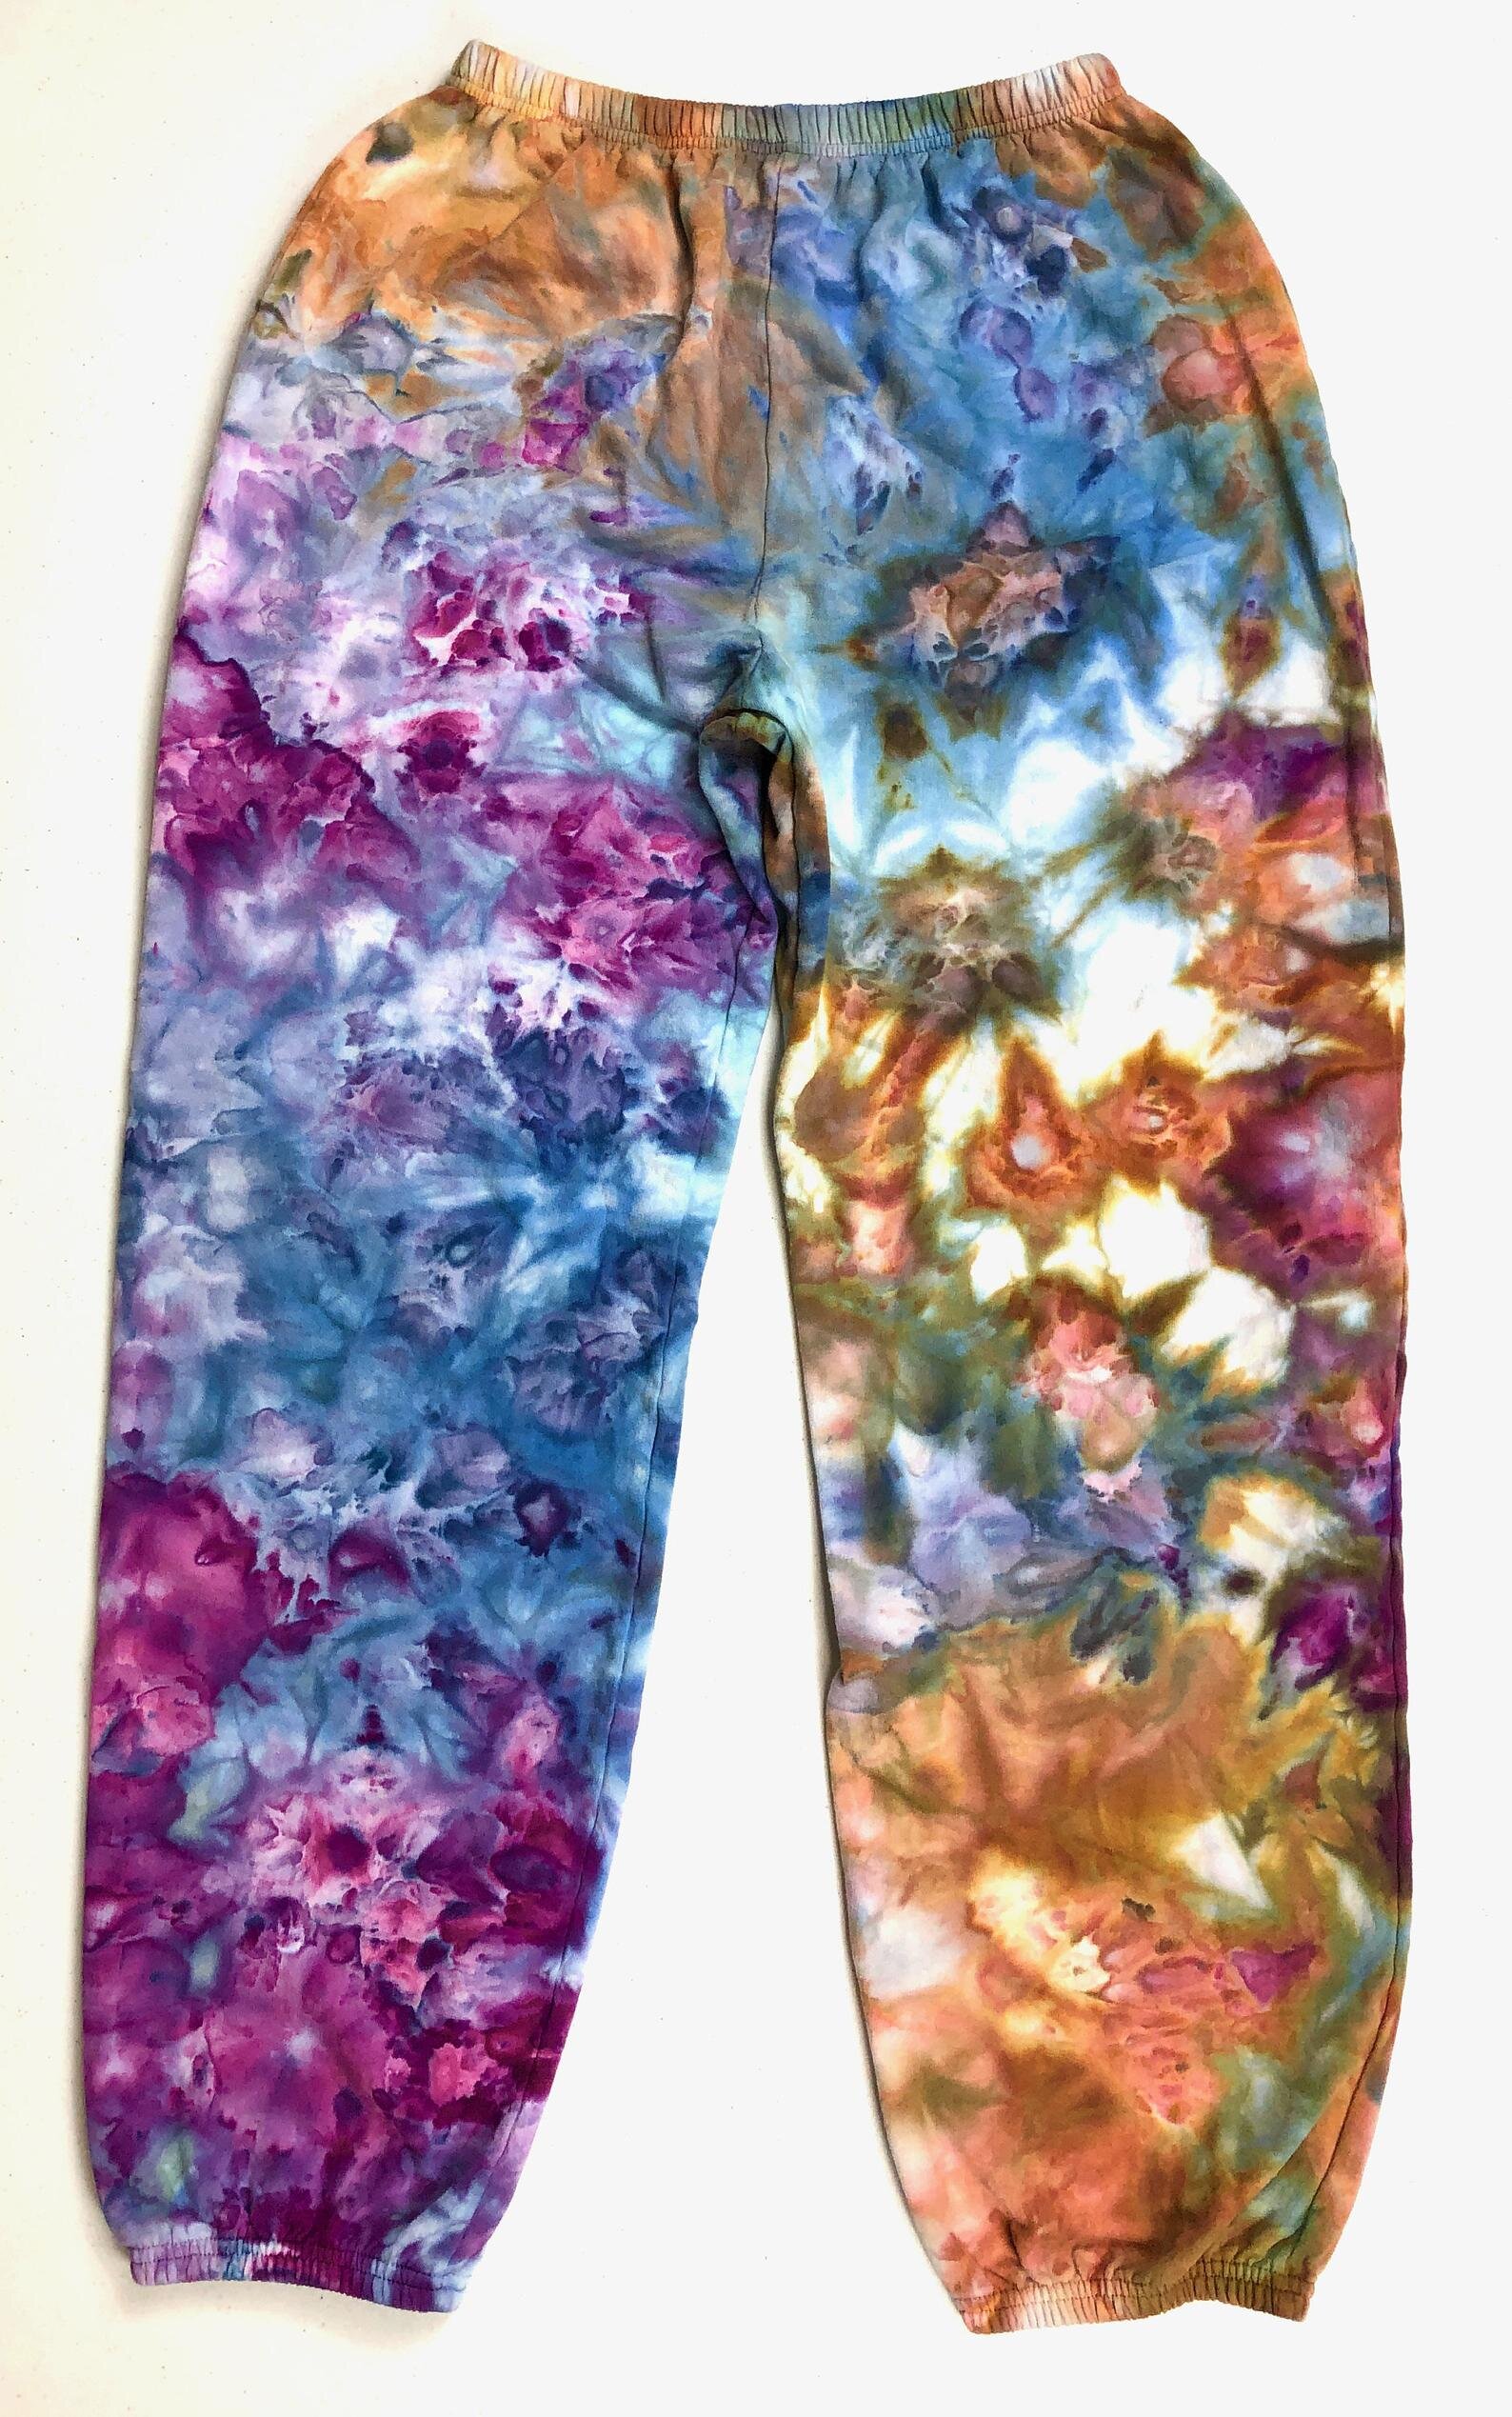
This is my first favorite colorway that I ever came up with, called “PB & J.”
Is there any trend more synonymous with the early days of quarantine than tie dyed sweats? Matching tie-dyed sweatshirts and sweatpants, some hand dyed, some commercially printed, were a huge hit on TikTok and Instagram in 2020. Now you can even find them in almost any and every store.
Make your own with one of our ice dye kits, and choose the colors yourself. It is really satisfying and fun, plus all your friends will beg you to make them some, too. You can charge a lot for these if you want to.
Random Upcycled Thrift Store Scores
Before COVID, I used to love spending hours combing through the racks and bins of Asheville’s many thrift stores, looking for lost and lonely garments that were made of nice fabrics. It didn’t matter if they were stained or an ugly color; the dye would cover a multitude of sins.
Check out this linen suit that we ice dyed for one client:
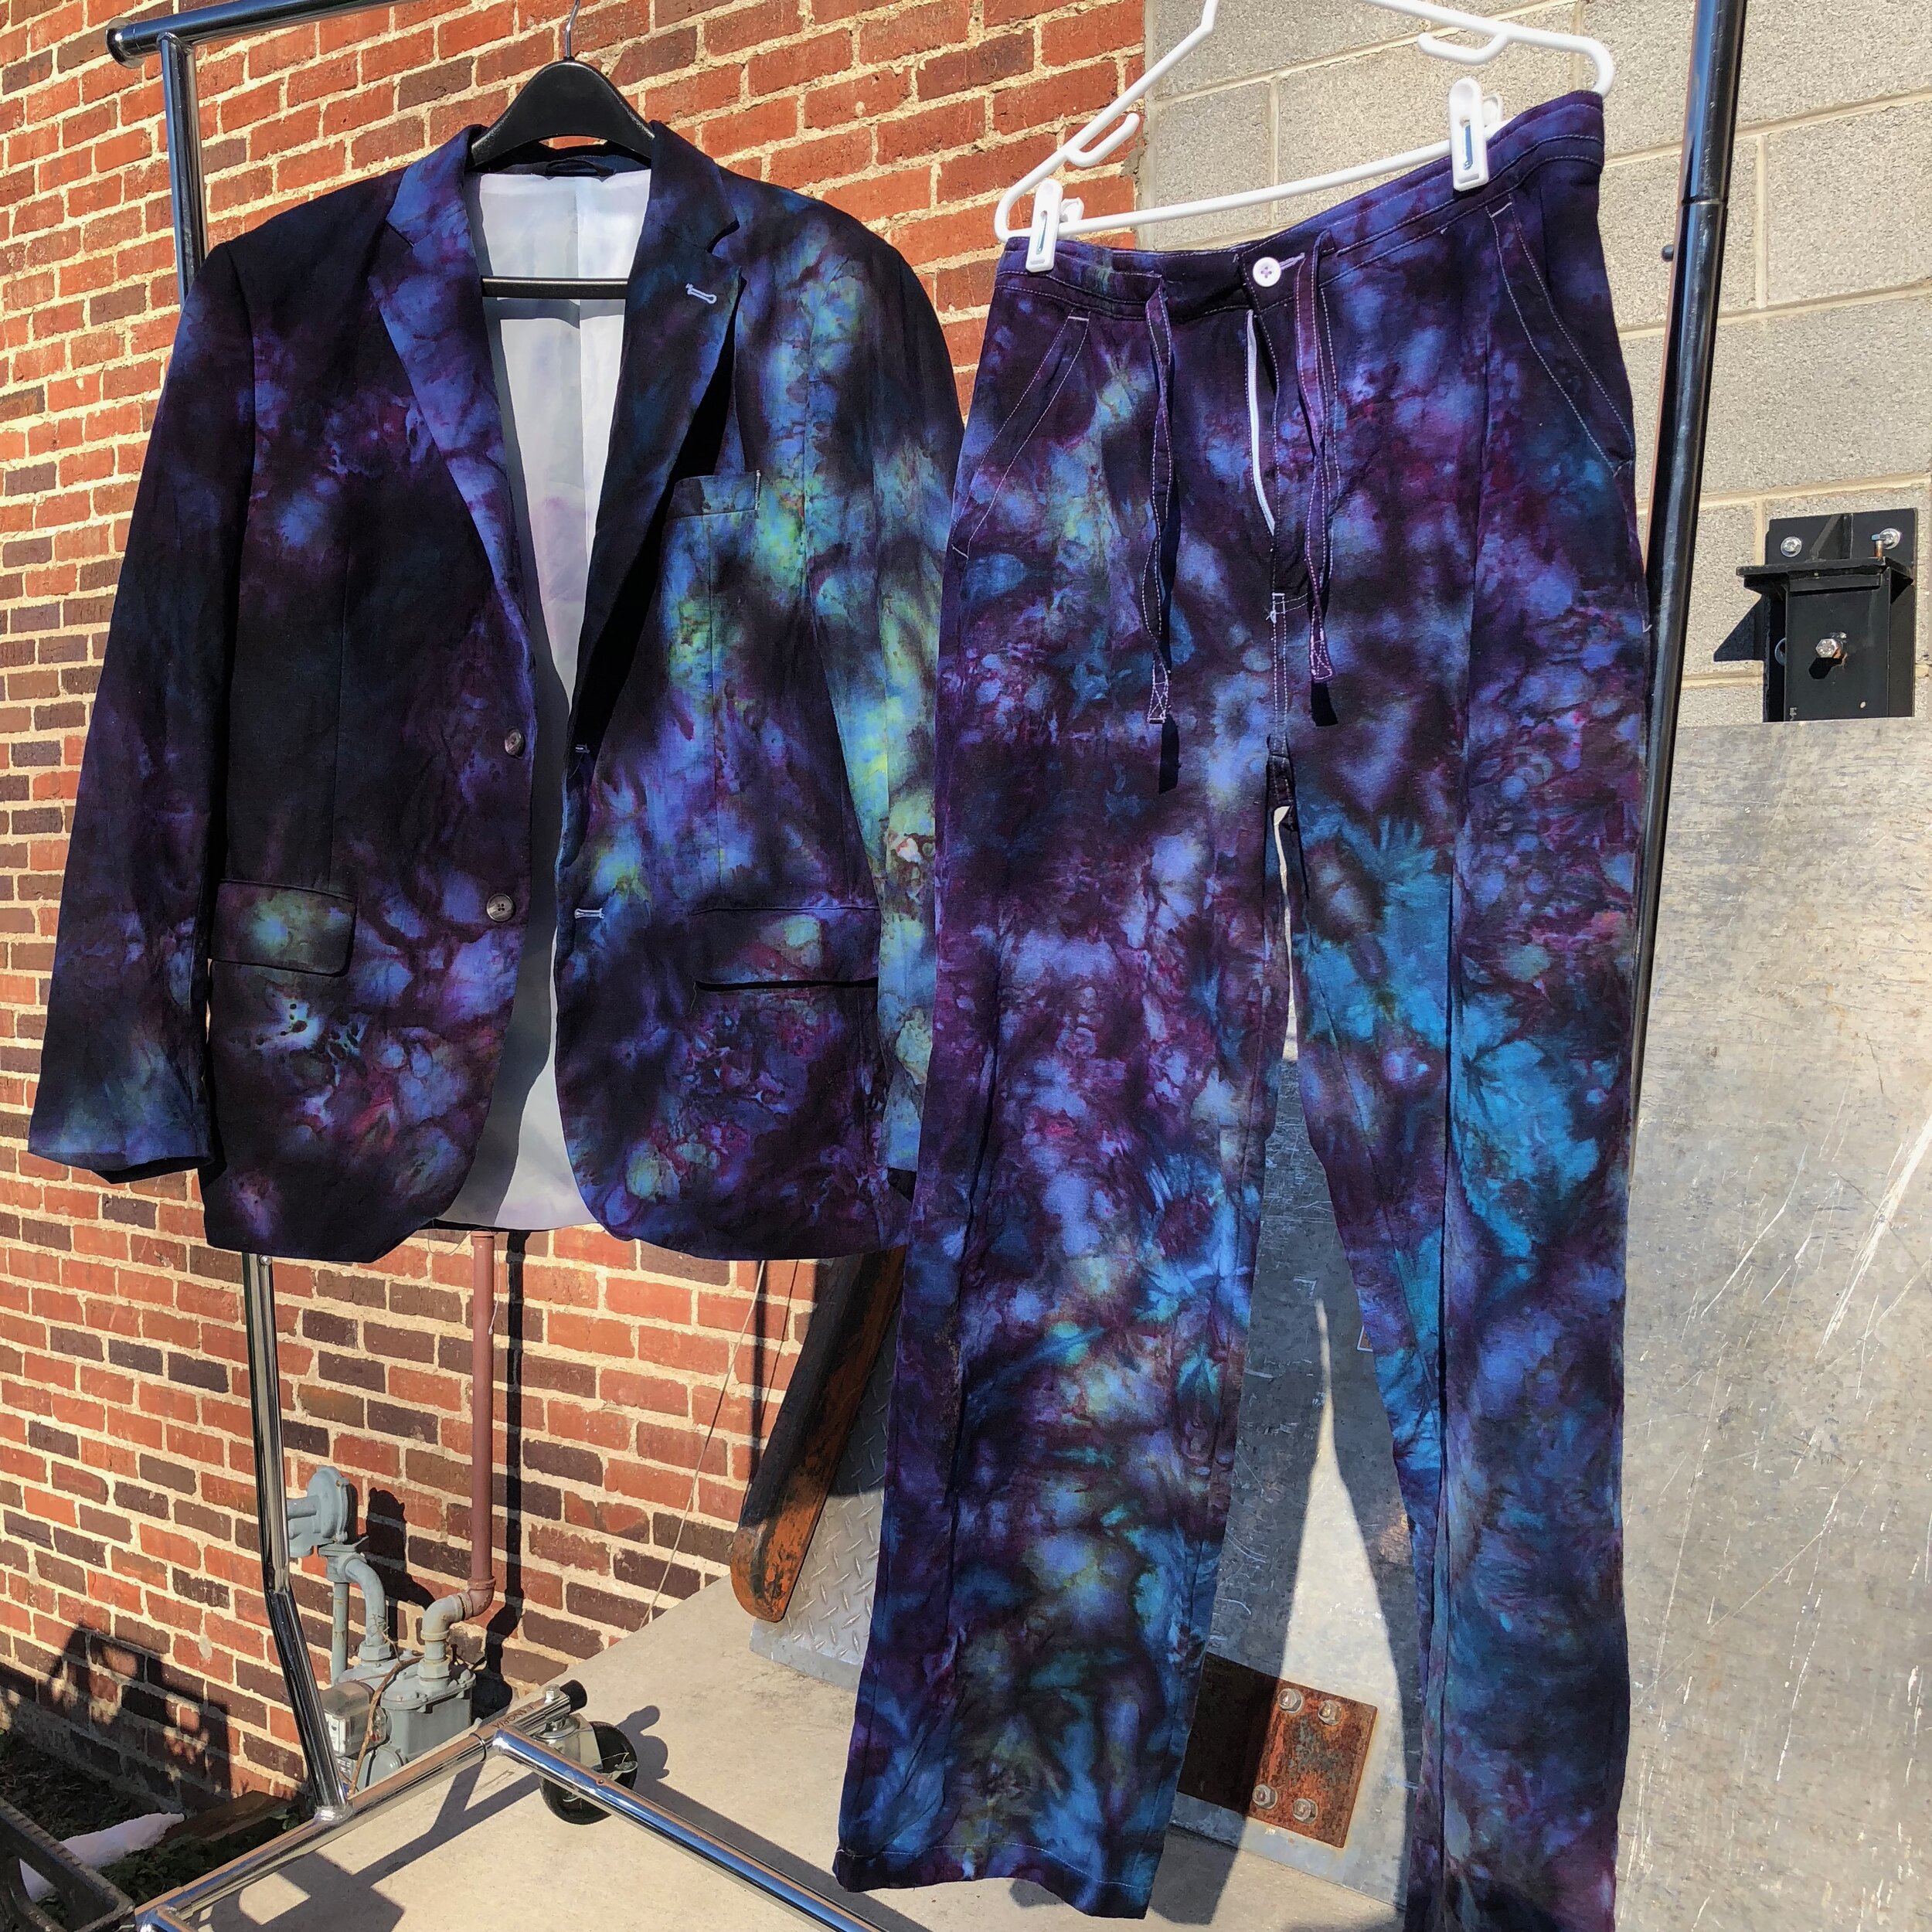
This suit was a dingy grey before we ice dyed it!

And we found this amazing doctor’s coat that really needed to be shown some love!
Whatever you choose to make, be sure to give it a really good scour before dyeing, and make sure you know what percentage of it is made from plant fibers.
How To Tie Dye With Ice

Now we get into the meat of the how to section, the ice tie dye technique broken down step by step! This will be a much more brief version of my comprehensive Online Ice Dye Course. As a disclaimer, I always relate the art of dyeing to the art of painting.
What I mean by this is that just because two painters use the same paint, it doesn’t mean their paintings will look anything alike. Even within the specific world of oil painting, for example, you’ll find as many different tricks, tips, and techniques as you’ll find people who use oil paints. One person swears by ABC, and another person never does that, they always do XYZ.
Ice dyeing is like that! In my years of dyeing I have yet to find anyone who does it exactly the way I do it, or the way another dye artist does it. That’s the magic of ice dyeing.
Start by purchasing and following a ready-made kit, then you can start experimenting and come up with your own little tweaks that make your work look like no one else’s. With that being said, here’s the process that we suggest for using our ice dye kits.
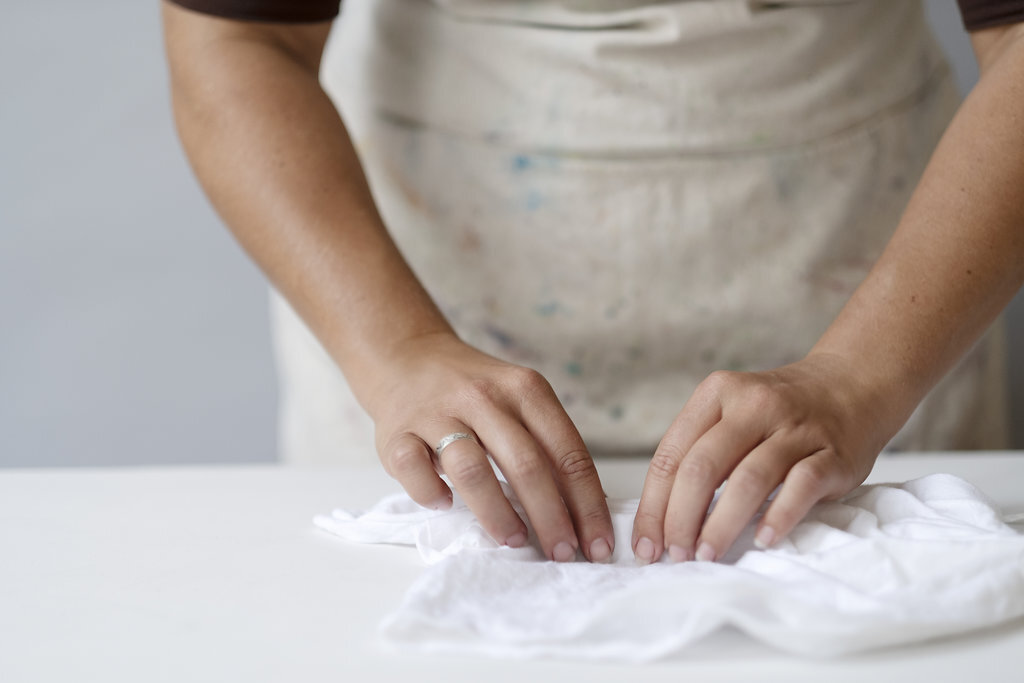
Step 1: Prepare Your Fabric
Dyer’s vocab: to “scour” means to pre-wash! You don’t want any dirt, oils, fabric softeners or starches to impede the dyes.
What are you going to ice dye today? Fiber reactive dyes are formulated to work best on cellulose fibers. That means you should choose something that’s cotton, linen, hemp, rayon, bamboo, etc. Our Bandana Kit and T-Shirt Kit already have this question answered for you, but you will probably have enough dye leftover to throw a few more things under the ice.
If you are providing your own item to dye, make sure it is a pre-wash (called a scour). You don’t want any dirt, oils, fabric softeners or starches left on the fabric. Even if you pulled it out of the back of your closet and it hasn’t been worn since the last time you washed it, give it another wash in hot water. Just a note that we have already scoured the bandanas and t-shirts we send to you in our ice dye kits.
Step 2: Soak Your Item(s) in Regular Tap Water

Damp fabric holds patterns much better than dry fabric. With our kits, you don’t need a soda ash soak!
This is a huge selling point of WAXON’s Ice Dye Kits: the soda ash is already mixed in with the dye powders in our super convenient little shakers, so you don’t have to do the soda ash soak. I repeat, with our kits, you don’t have to make a soda ash bath or do any pre-soaking!
Go ahead and soak your item in regular tap water and wring it out like crazy. You want all the drips to be wrung out.
The reason we soak in water and wring it out is because damp fabric holds patterns way better than dry fabric, which is really helpful for the next step.
Step 3: Fold, Bind, Twist, or Tie Your Pattern
All of our Ice Dye Kits come with our illustrated patterns handout, featuring our six favorite patterns for beginners to learn.
Oh, patterns! Our Ice Dye Kits come with our amazing two-sided illustrated patterns tutorial handout, which takes you through our 6 Favorite Patterns for Beginners. They’re arranged from easiest to hardest! Nothing crazy advanced like an ice dye mandala, not yet.
I advise practicing the simpler patterns first before jumping into too complicated folds. Whether you choose a simple scrunch or something that requires more concentration, like the heart, now is the time to do that.
You will use the included rubber bands, or a strong string (we use faux sinew), to tie or band your pattern into place. Your item will cooperate because it’s been thoroughly dampened and wrung out! Again, damp fabric holds patterns much better than dry fabric.
Step 4: In The Muck or On The Rack?
Happy ice dyed socks sitting in their pretty muck, 24 hours after melting.
There are two main types of ice dyeing, in the muck (a container that the project sits in while the ice melts), or on the rack (so that the icy dye water can drip through and away from your piece, usually into another container or the sink).
Our bandana kit comes with its own perfectly sized container so that you can ice dye in the muck, but we won’t be there to insist you use it. Feel free to ice dye on the rack if that’s what you want to try.
There is not one better method than the other. It’s just personal and artistic preference. At WAXON Studio, we are muck dyers 99% of the time. Try a few experiments and see what you like better. There are benefits and drawbacks to both.
Step 5: Dye Over Ice or Dye Under Ice?
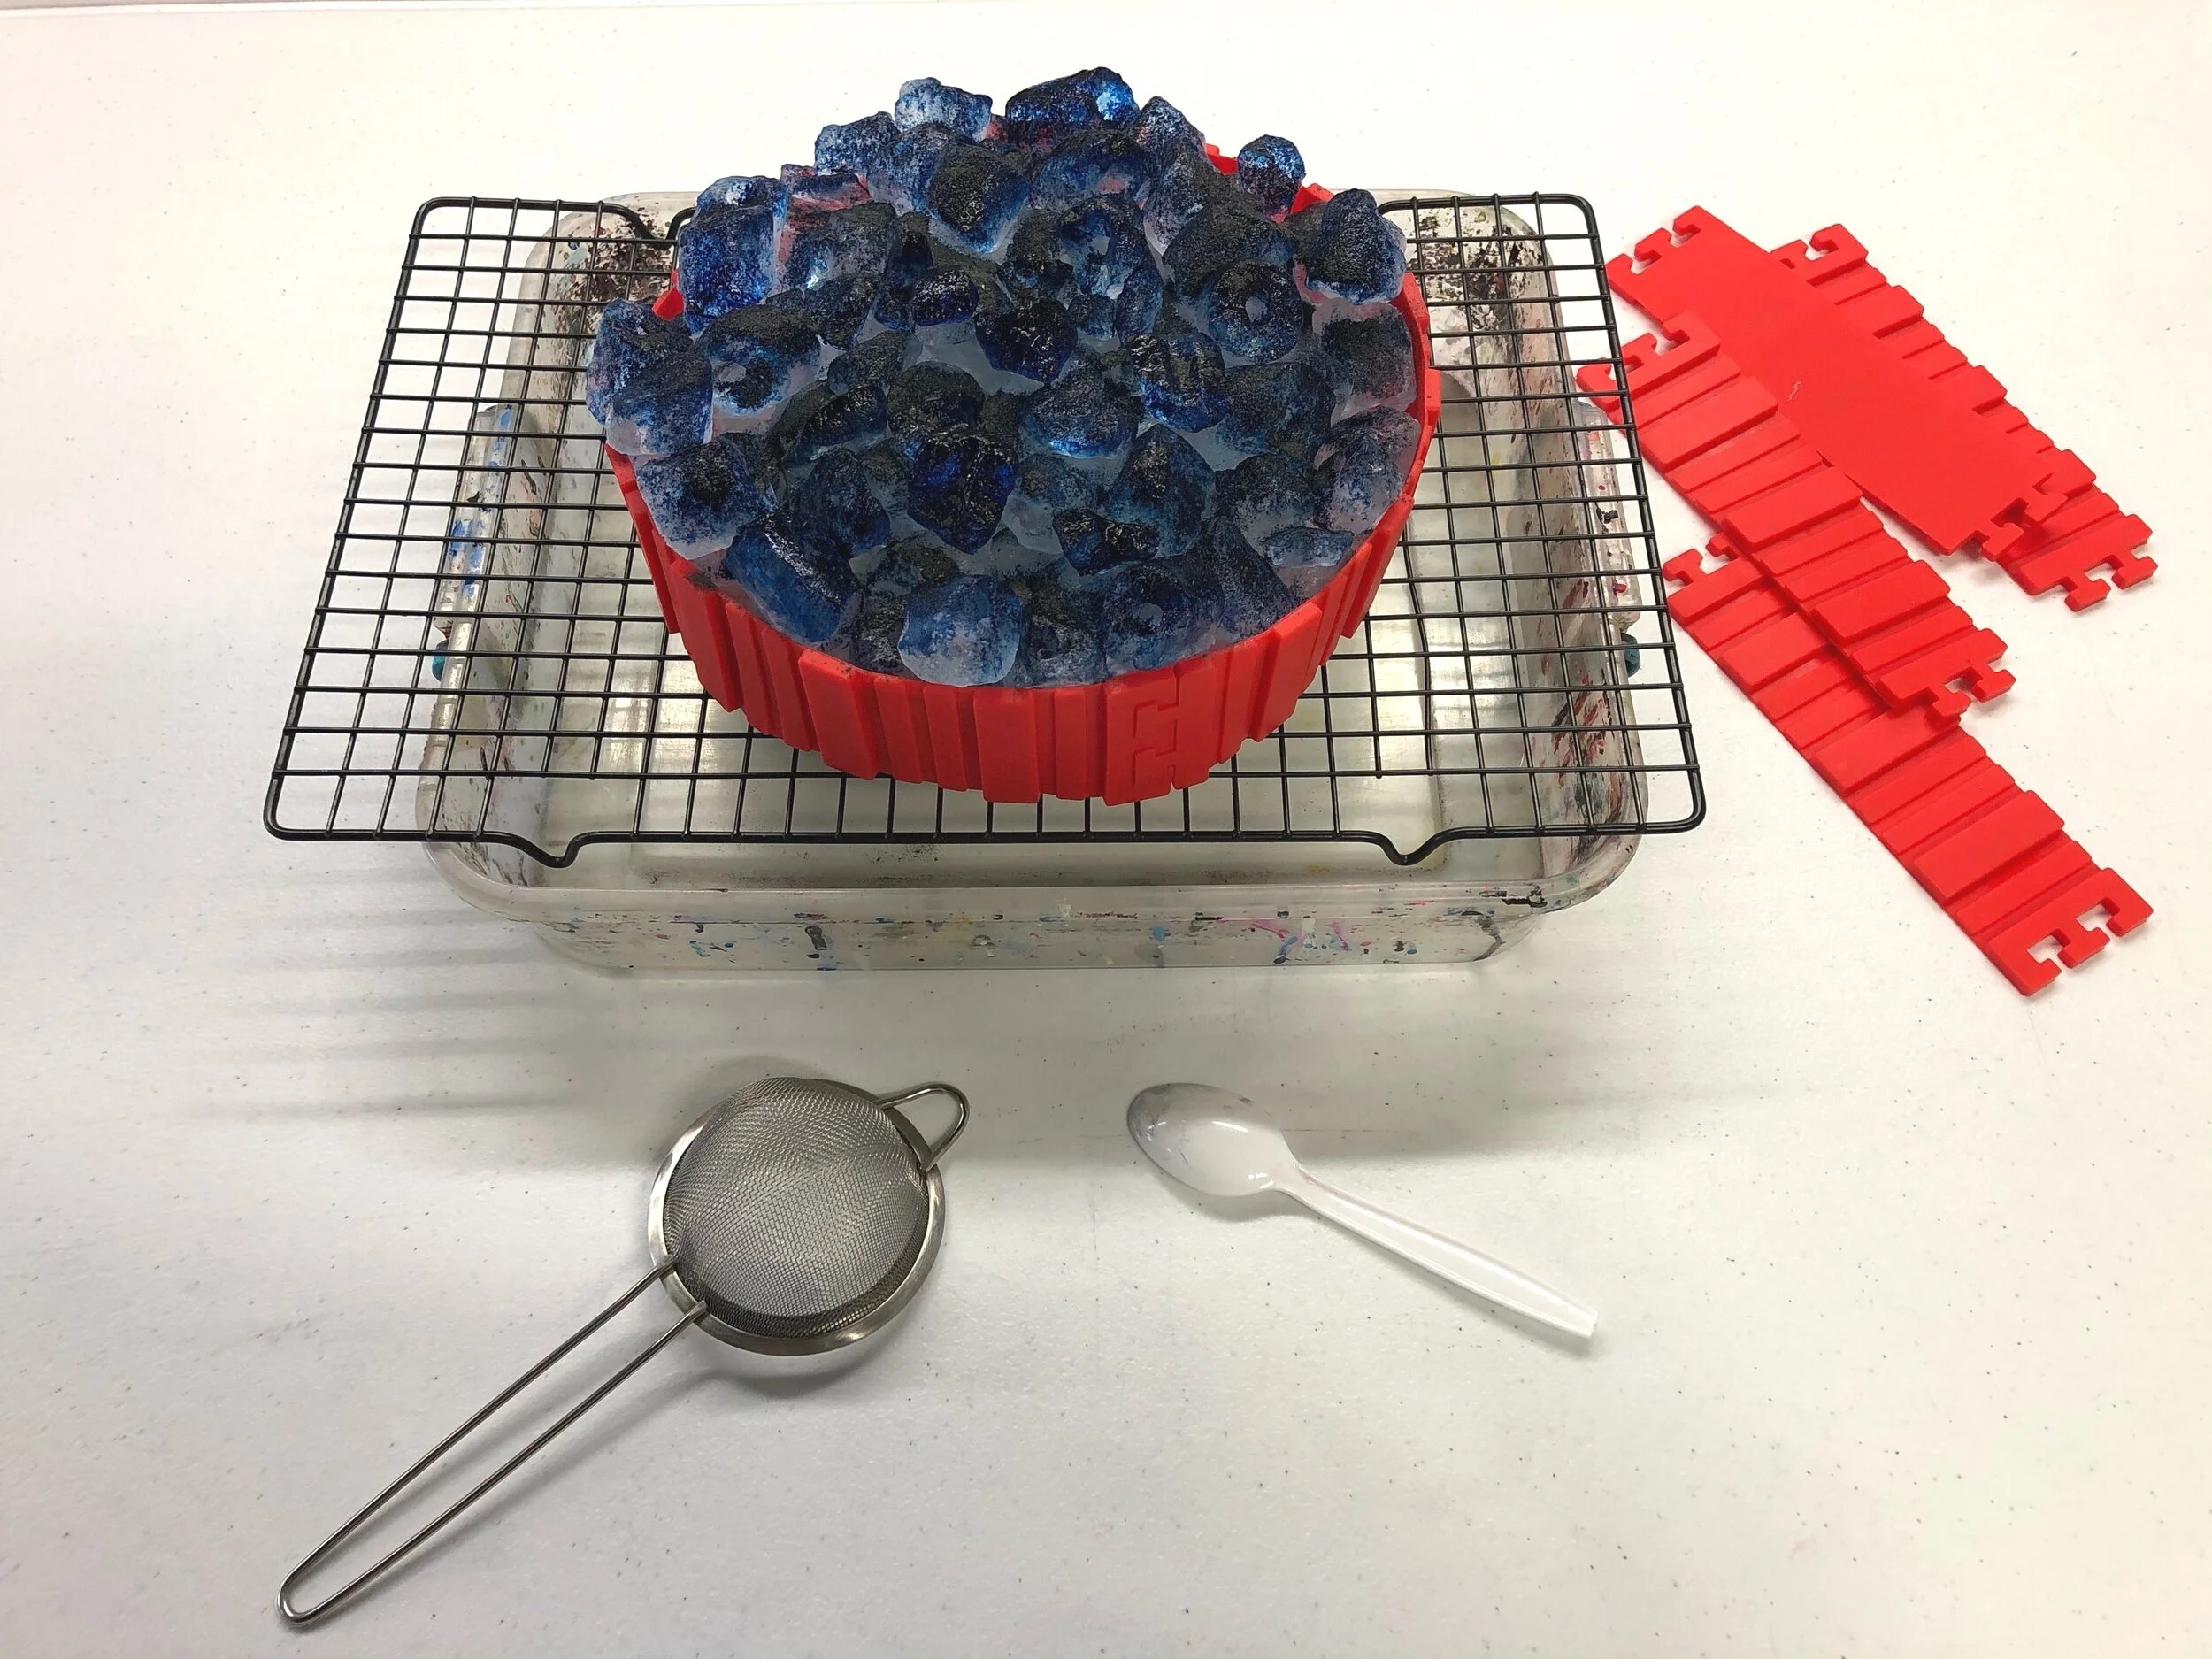
Here’s an example of a rack set-up, with dye over ice. We like these silicone cake molds to hold the ice in place!
There are also two main types of dye powder application. There is ice first, with dye on top. Or, there is powder first with ice on top. Our kits’ instructions recommend dye over ice.
At WAXON, we are dye-over-ice 90% of the time. For me, the only time to put your powder down first is when you need specific colors to be on specific places.
I find I get less freckling (solid bits of dye powder that never get dissolved) when I sprinkle powder on top of the ice. But, many other ice dyers swear by powder first, and their stuff looks great.
Some people even enjoy the freckling look and want to get more of it. Try a few experiments and see what you like better. You might really like the look of one over the other.
Step 6: Apply Ice & Dye!
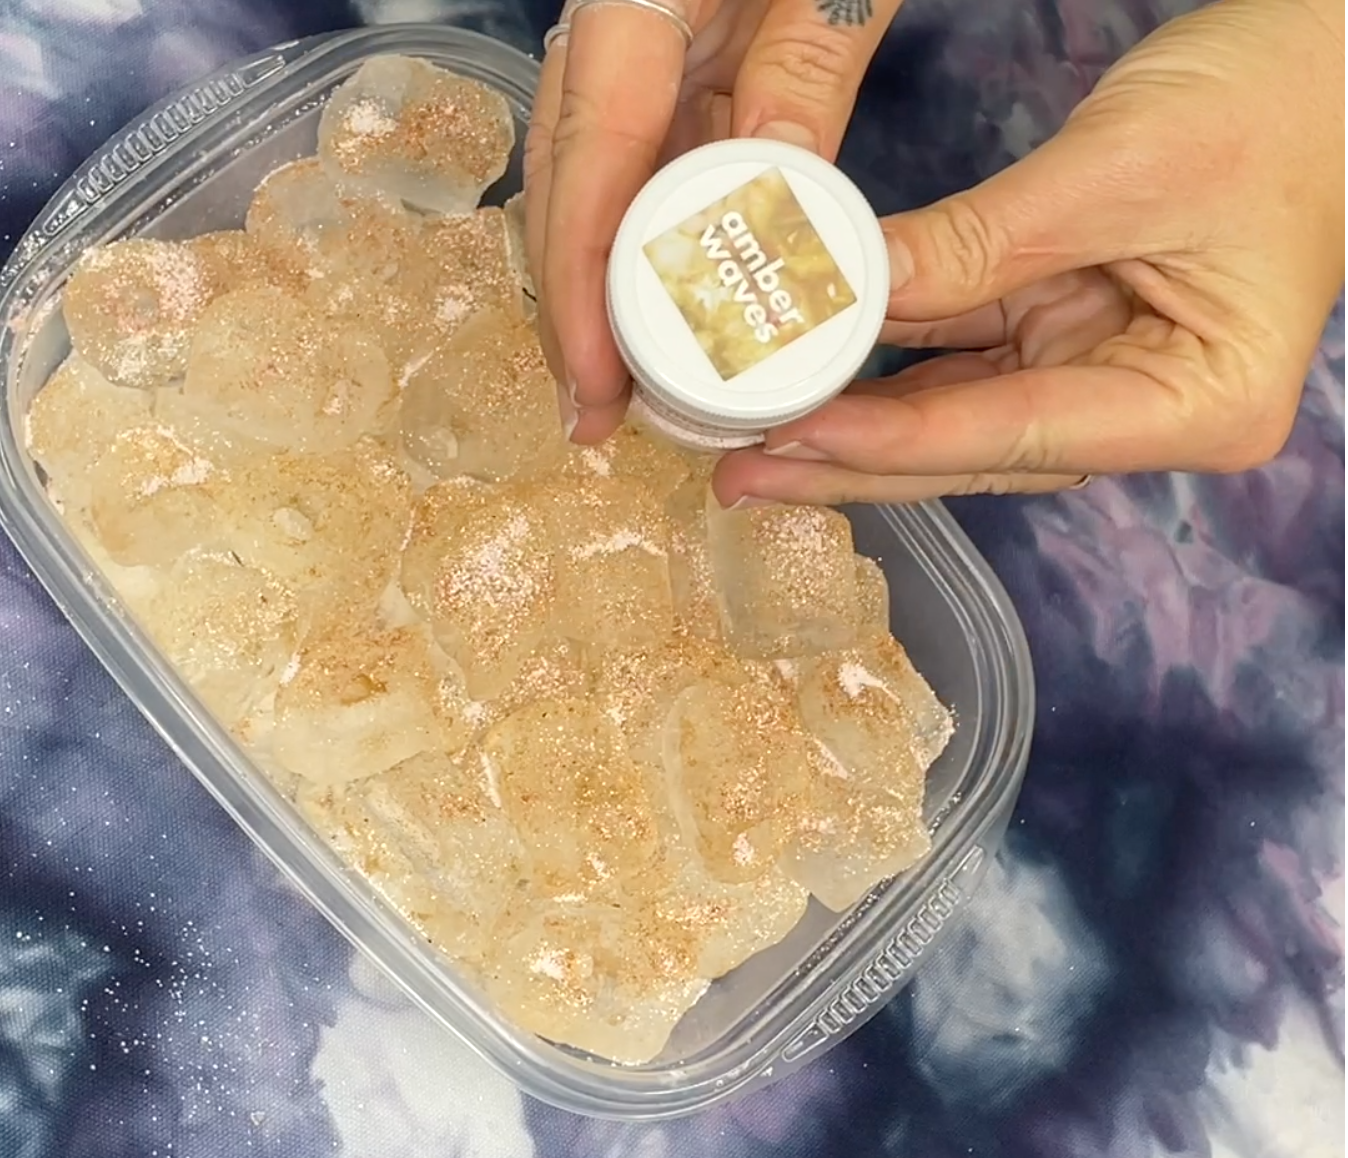
With 28 core colors + a few selected seasonal colors to choose from, your options are endless! You should definitely try more than just one color.
Remember, we have gone ahead and pre mixed the soda ash activating powder with the dye powder for all-in-one sprinkling fun. You only need ice cubes and our prepared shakers.
Our kits are the only ones that have both pre-mixed shakers and swatch stickers on top showing you how that color splits. Just a little extra love for our ice dye newbies.
If you are doing our dye first, go ahead and do a light dusting with your shaker(s) all over your piece. Then, cover evenly with ice cubes.
If you are doing ice first, like I do, create an even layer of ice cubes. You want there to be enough that there are no “bald spots” where you can see naked fabric through the ice.
Once you have enough ice, go ahead and sprinkle your shaker(s) all over your piece. It’s that simple!
Once your piece is totally covered with ice and powders, you kick back and wait. Now, while you’re waiting… is a great time to explore some of the resources I have available for dyers like you.
A free class on how to use fiber reactive dye powders 3 ways, or…
You could opt for my super content-packed Online Ice Dye Course, or…
You could subscribe to my newsletter, the Dyenasty, where you get free tutorials every month on a whole range of dye topics.
Finally, I want to share our 28 Core Colors as of early 2021 with you. Our ice dye kits come with 1 color, but you can buy additional colors too.

Step 7: The Waiting & The Washout
After you have got ice and dye all over that thang, and you are doing this either in the muck or on the rack, and you are super sure your piece isn’t made of anything synthetic that won’t take the dye, it’s time to wait and let ice do what ice does.
Melt slowly, while refusing to give up any of its secrets about how it’s all going in there. Trust the process!
Don’t poke at it, mess with it, try to make it melt faster or slower, or pick it up and move it somewhere else. It’s best to just leave it be. In fact, we even give you a cute little sticker that says “Trust The Muck” in most kits. Sometimes we send you a button or a different sticker, because hey, we like to keep it fresh.
You’re going to ignore the whole thing for at least 24 hours, some even say 24 hours after the ice is melted. I’m not always that patient, but you should try to be.
The dyes need to cure at room temperature, for about 24 hours, so take that into consideration. Once the time is up, dump that baby into the sink and start rinsing with cool water. Rinse both your project and the container/rack. Set the tools away to dry.
Rinse the fabric until water runs mostly clear, taking off any rubber bands or string in the meantime. Fiber reactive dyes are safe for city sewer or septic systems.
Make sure everything is rinsing clear. Squeeze your project, flip it inside out, squeeze it, and examine the water that’s rinsing out. Satisfied?
Next, with much hotter water, add a small squirt of dish soap (blue Dawn is best), and hand wash again until water runs clear. If it’s running clear now, you’re in the clear!
Your ice dye is ready to be dried and worn, and from here on out it can be laundered as you would all other cottons. I wash my dyed items along with all my other laundry because I trust the process.
It’s never let me down (yet), and I have dyes I made almost 20 years ago that are still looking saturated and fabulous.

An amazing bamboo dress ice dyed with just moss green, right after being washed & dried.
Ice Dye Expert Tips
You can let your piece sit for up to 48 hours if needed! No need to be strict with the clock. Just wait at least 24 hours at room temp (longer if it’s cold inside).
If you follow the time and washout instructions, your dyes should be totally set and machine washable forever. No need to wash separately!
Can You Use Liquid Dye To Ice Dye?
Nope. But I get why people ask this. When I first heard of ice dyeing back in 2013 to 2014, I just imagined taking my liquid dyes and freezing them in ice cube trays.
I now know why that wouldn’t produce the cool results we get from using dye powders. Once you mix those dyes evenly into liquid, you have gone ahead and blended all the different color molecules up into one even shade.
It doesn’t matter if you freeze that shade and then let it melt; it’s already mixed. But, when you let the different color molecules slowly melt over (or under) ice, they can split apart, making the ice dye effect we know and love today.
Pick Up A Ice Dye Kit Today For Fun & Easy DIY Tie Dyeing
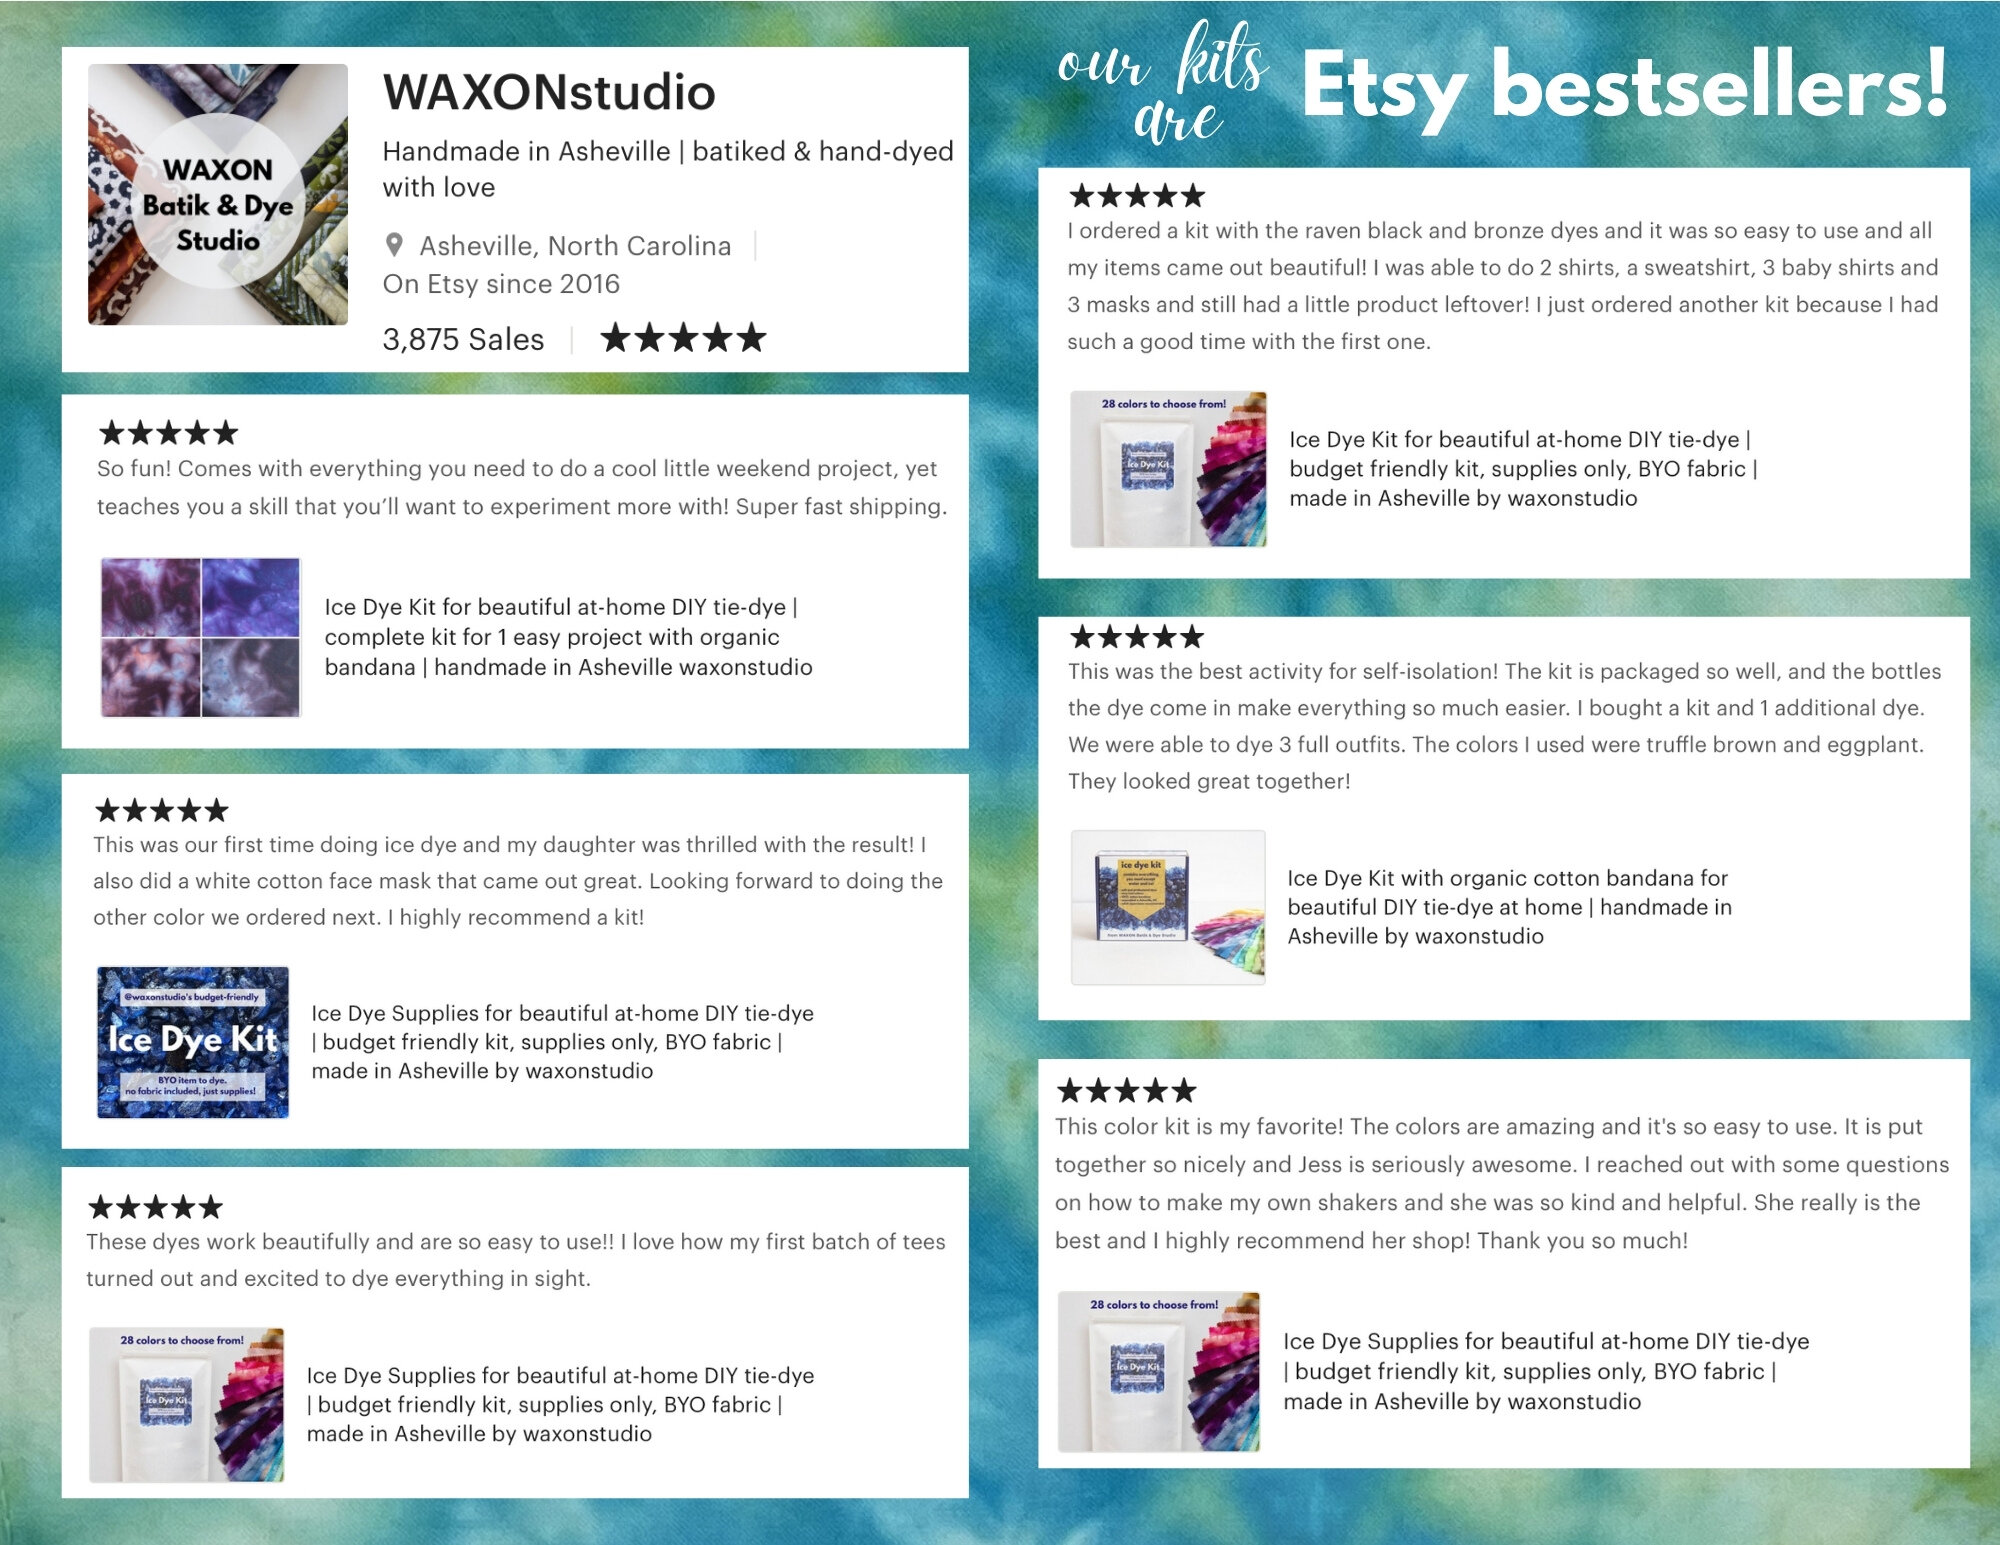
Check out just a handful of our favorite reviews from our Kit listings over on Etsy. New ones come in all the time, and it brings me so much joy to be able to share my love of ice dyeing with all of you!
Have you tried one of our kits? Which one? What colors did you try? Leave a comment and a pic if you’ve got one!